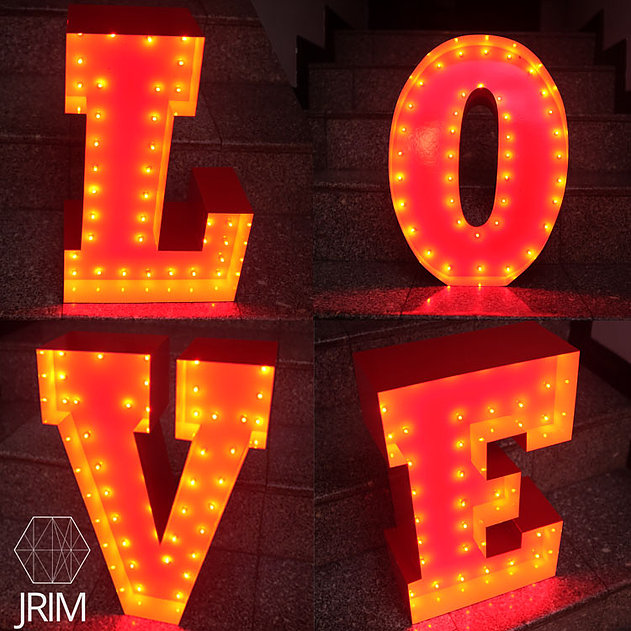
All of my post last month focused on what I had DIY-ed for my reception two years ago (you can read more on that here, here, and here). But I had another extra event that same weekend, I had a birthday dinner plus a thank you dinner for all of our family and friends that had helped us out throughout the wedding preparation.
For the first time in my life, I had a themed birthday party.. A 1920’s themed party. I had fun choosing the outfit and getting dressed up, but I had more fun setting up the centerpieces for all of our guests!
But pinterest had me dreaming of marquee letters, and I had spent a few weeks researching on how to do it here in Malaysia. I had seen a few tutorials online on how to make them, but I wasn’t convinced with the material they had used. My biggest worry of the whole thing was for the lights itself, and its power source.
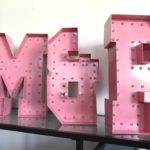
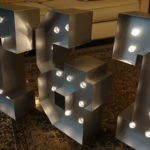
After all my research I ended up deciding on using white modeling boards for the marquee letters (my favourite material for model making from my architecture student days). I’m super comfortable in using this material and I knew it was an easy construction and it can be held up by UHU glue and be strong enough for people to move around and play with it throughout the night.
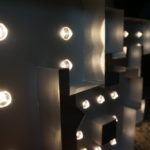
The major breakthrough I had for the marquee lights was when I found battery-operated LED lighting chain from IKEA (similar to this). When I bought it a few years ago, we had a choice of white or red. Since I knew were going to have red marquee letters, I bought the lights in red. Being battery-operated was a major win for us, that meant that there wouldn’t be any wires coming out of the letters, we didn’t have to plug it into a socket, and people can pick it up and move it around!
So here’s my tutorial on how I made my 1’6” tall L.O.V.E marquee letters.
L.O.V.E MARQUEE LETTERS
THE TEMPLATE:
You can download the full sized pdf of the letters (here) or the A4 tiled template (here).
The full size of the template is 55cm x 142.22cm, it’s a custom size and not a standard paper size. When I made this, it didn’t matter if it wasn’t a standard printed since I was going to print it as A4 tiles on my home printer.
How to use the tiled version of the template: Print the Marquee Letter Template out and pretend like it’s a puzzle! It’s a relatively simple and easy puzzle, but here’s how the tiles should be laid out.
Once you’ve got the sequence right, just tape them together and cut the letters out using scissors or a blade cutter.
THE LETTERS:
What I used:
White modelling board (I bought 8 and had lots leftover), Cziplee
Template
Masking Tape
Blade cutter (30° blade not 45°) or exacto knife
Steel ruler
Cutting Mat
Uhu glue
Anchor Spray Paint (3 cans)
Plastic tarp
Battery-operated LED chain light (I bought 17, it had 10 bulb per string), IKEA
Method:
1. Print out the template and piece them together and cut each of the letters out.
2. Take the first letter from the template and tape it unto the modelling board using the masking tape. This steps make sure that the template doesn’t move around. The masking tape also provides a good surface so that it’s easier to work on while you’re using the steel ruler and the blade cutter. Make two of these, one is used as the main piece (the lights will go through this one), and the other one will be used as a backing (to hide all the wires).
3. Take the back piece of the cut out letter and cut out V-notches on the longer edges. This will allow for a little flexibility to the piece when inserting it as a removable backing. It will also act as a finger hole so that you can insert your finger through the hole to pull out the backing later.

4. Take the front piece of the cut out letter and start mapping out where all the lights will need to go. I had done a 1.5cm offset outline from the edges at the front of the letter, this line will be where all the lights will be aligned to.
5. For the letters L, O, and V I had used 4 chain lights which is equivalent to 40 bulbs. For the letter E, I had used 5 chain ligths since it had more edges than the rest of the letters. I didn’t pre-plan where each bulb had to go so I first marked out the corners, from there I counted out how many bulbs I had to place and I evenly distributed the number of bulbs according to the length of each ‘line’ I had to fill. For the shorter ‘lines’ it meant non in between the corners, and for long lines it meant having lots of it. I marked it out using a pencil, and erased and added whichever ones till it looked somewhat evenly distributed.
6. Once you’re happy with the bulb placement, using an exacto knife or a 30° blade carve out the holes for the bulb by placing the tip of the blade on the modeling board and twisting it in a circular motion. Make sure to not overdo this, it’s always easier to make a small hole bigger, but you can’t undo a big hole (without it not looking messy). And why I had marked out and carved out from the front was that I there would be any bumps showing from carving out the holes with the blade.

7. Now we get to move onto the siding element of the marquee letter. From a fresh piece of modeling board, I had cut 6” wide strips. Make sure to use the long width of the modeling board so that you have long strips for the longer edges of the letters. I took one of those strips and measured it to the letter front and had it cut.
8. I had cut one strip of the modeling board to be 2” wide, this way, I had a guide for when I needed to glue the siding to the front of the letter. I took the front of the letter and applied the UHU glue and glued the siding to it using the 2” guide I had made. Glue all sides.

9. Once you’ve made all the letters, lay out the plastic tarp in an outdoor space and space out all the letters you’ve made including the backing. Spray paint all of them (I had sprayed them with 2 coats). Leave it to dry, refer to the instruction on the spray paint can.

10. Once all the pieces are completely dry, place all the letters with the front facing down. Insert each bulb into the holes you’ve made, since I had cut the holes to be slightly smaller than the bulb, I didn’t need to secure the bulb to the modelling board, the size of the hole had held the bulbs in place. Insert the rest of the bulbs.

11. Since this wasn’t going to be a forever thing, I had secured the battery holder/switch to the marquee letter using masking tape.
12. Once you’re finished inserting the bulbs in all of the marquee letters, you can now insert the backing piece to cover all of the wires and the battery holder/switch. With the V-notches on the backing, it’s a lot easier to insert and remove the backing from the main structure of the marquee letter.
When you’re ready to use your marquee letters, just open up the back and switch on the lights and insert the backing piece in again.
